

After obtaining my IFR license, I was eager to expand my horizons and fly across the border to Canada. My destination: the bustling city of Toronto, home to the iconic Billy Bishop airport. Here’s a detailed guide to help you navigate the process, based on my own experiences.
- GPS Databases
- FCC Radio Operator License
- FCC Airplane Radio Registration
- Certificate of Insurance
- Letter of ownership
- Customs Decal
- EAPIS Manifest
- CANPASS
- Conclusion
GPS Databases
Plane’s Navigation System
Ensure the plane’s navigation system includes Canadian charts. I confirmed with my club’s maintenance manager that our GPS database already covered Canada, so no further action was required.
Electronic Flight Bag (iPad)
For ForeFlight users, you’ll need to add Canadian navigation charts. This requires an additional $100/year subscription fee. To do this:
- Log in to the web version of ForeFlight.
- Navigate to Manage Account > Upgrade.
- Select Canada and pay the difference in subscription.
Note: ForeFlight renews your subscription pro-rated, crediting any remaining amount and setting a new renewal date a year from the upgrade.
FCC Radio Operator License
This step was the most time-consuming and frustrating. Here’s a simplified walkthrough:
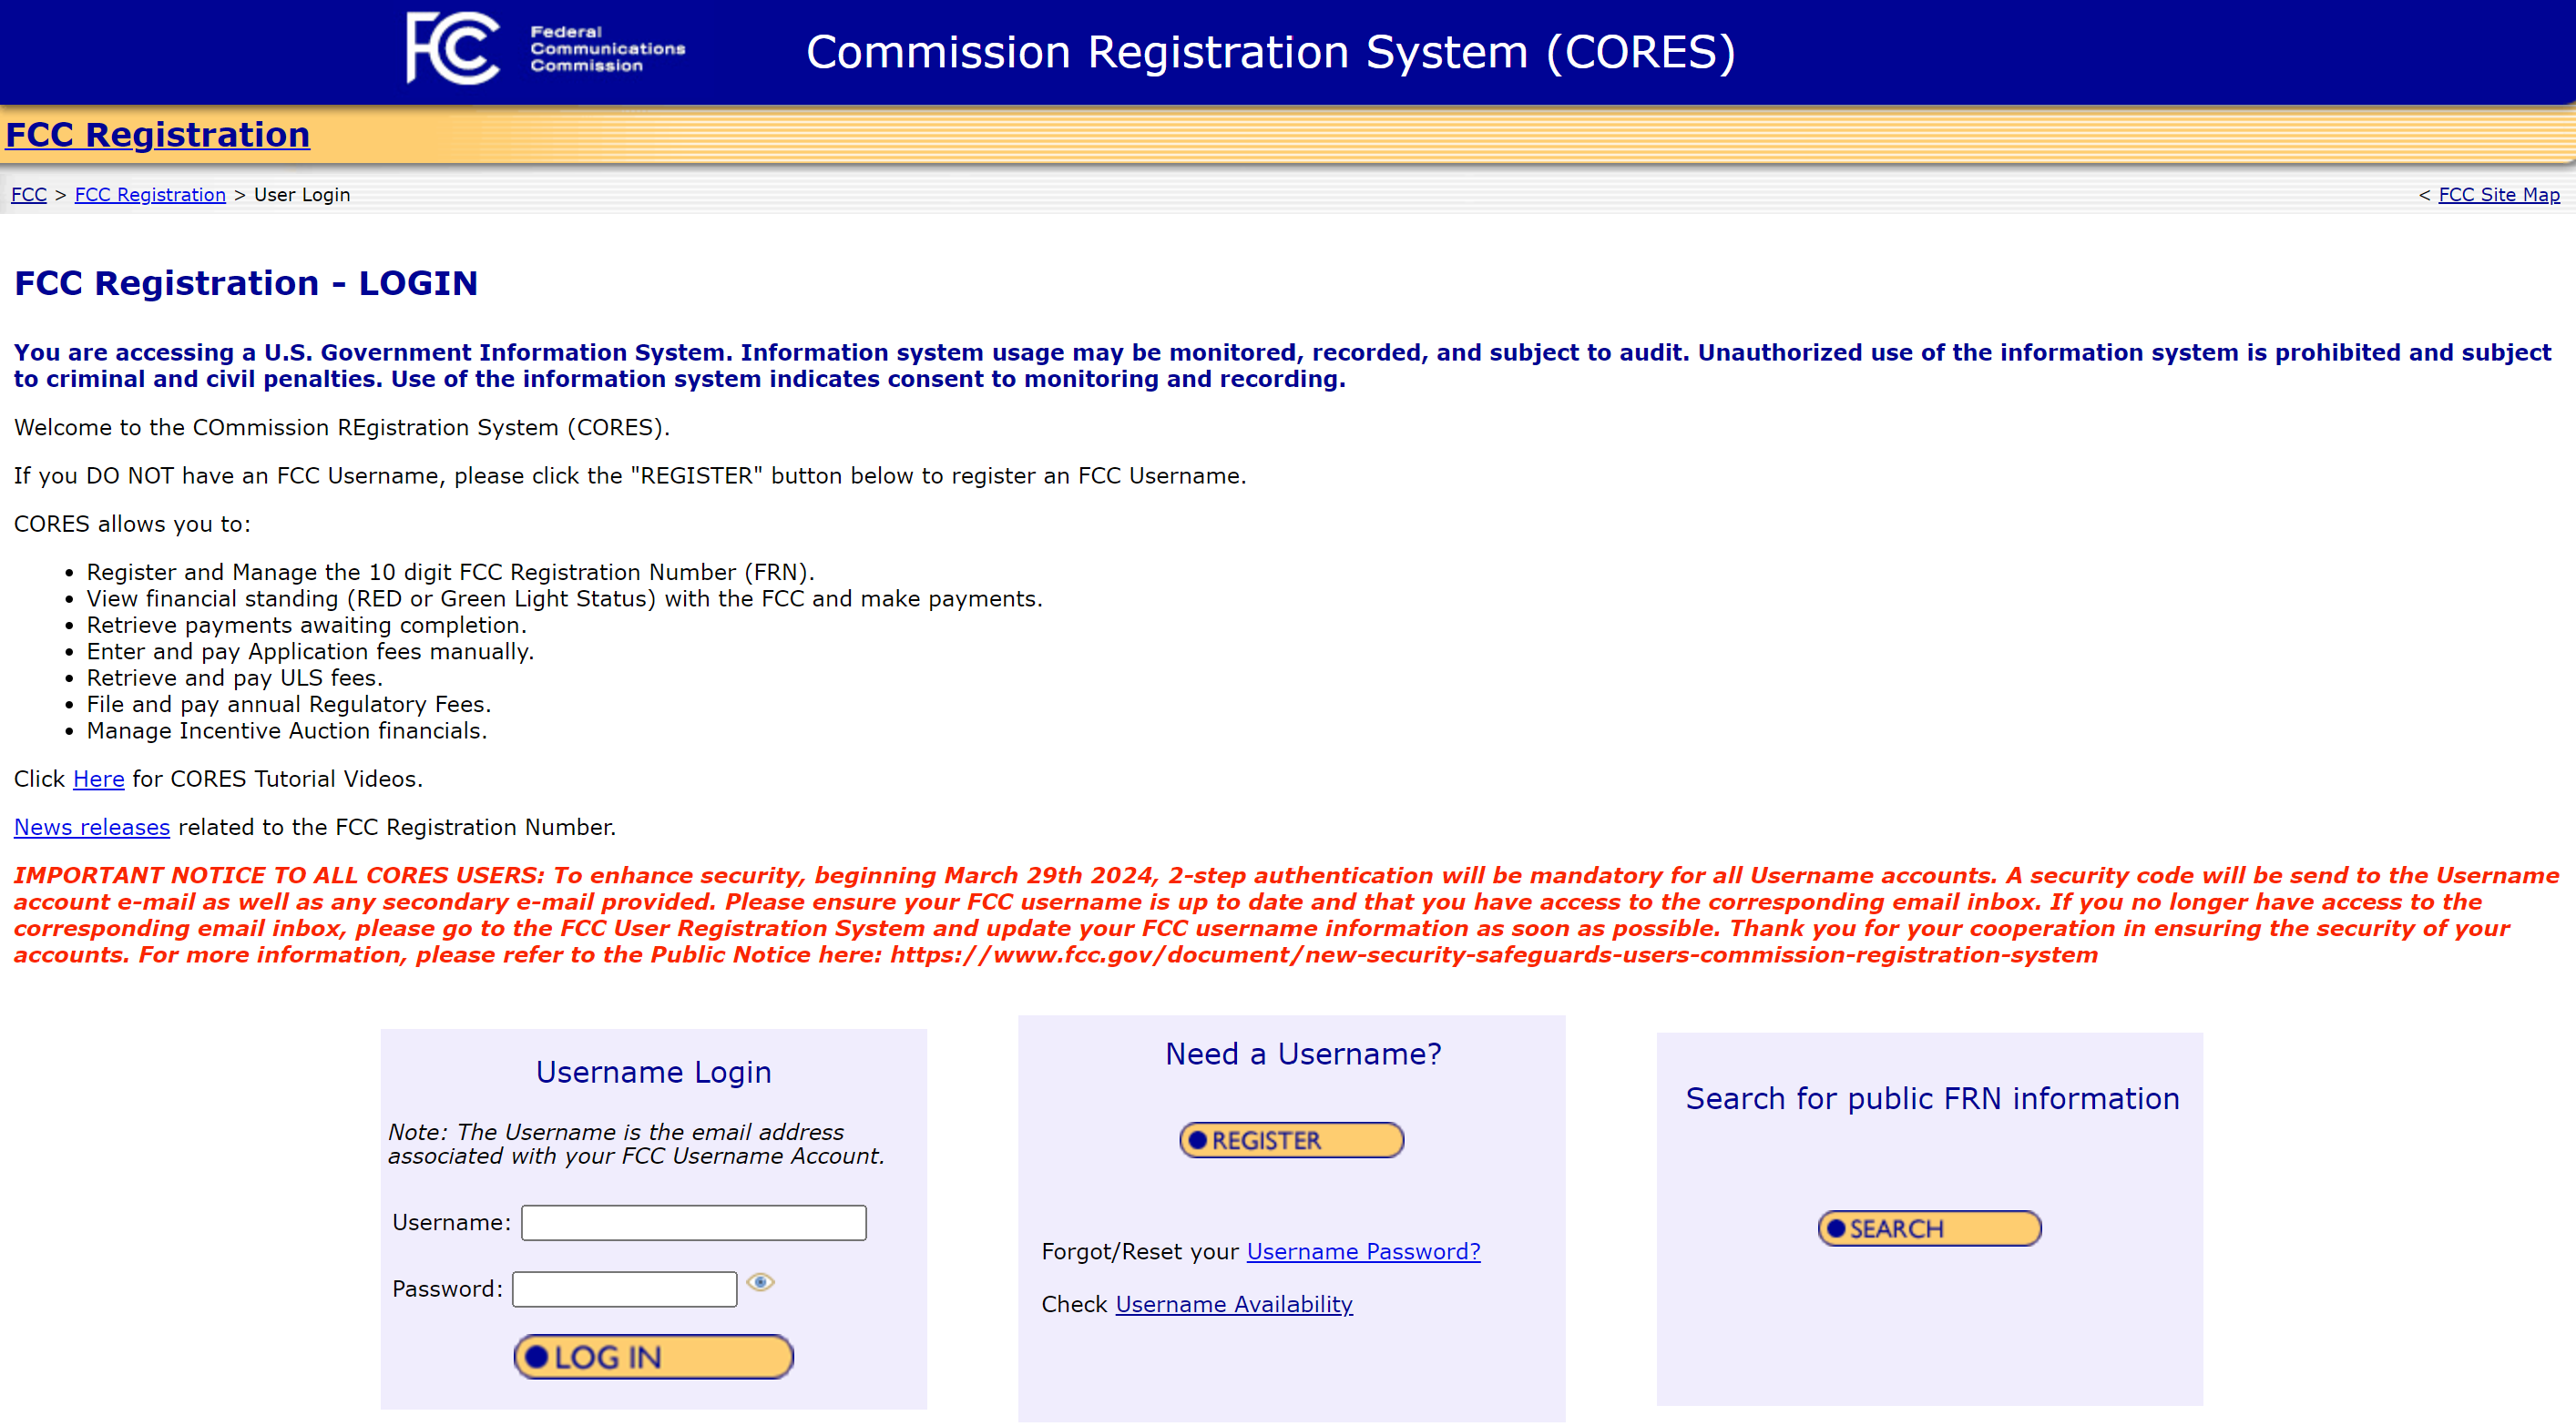
- Get an FCC Registration Number (FRN):
- Visit the Commission Registration System (CORES)
- Use your email as the username and follow the instructions to complete the registration.
- If you encounter a Google reCaptcha error, keep trying as it might be a known issue.
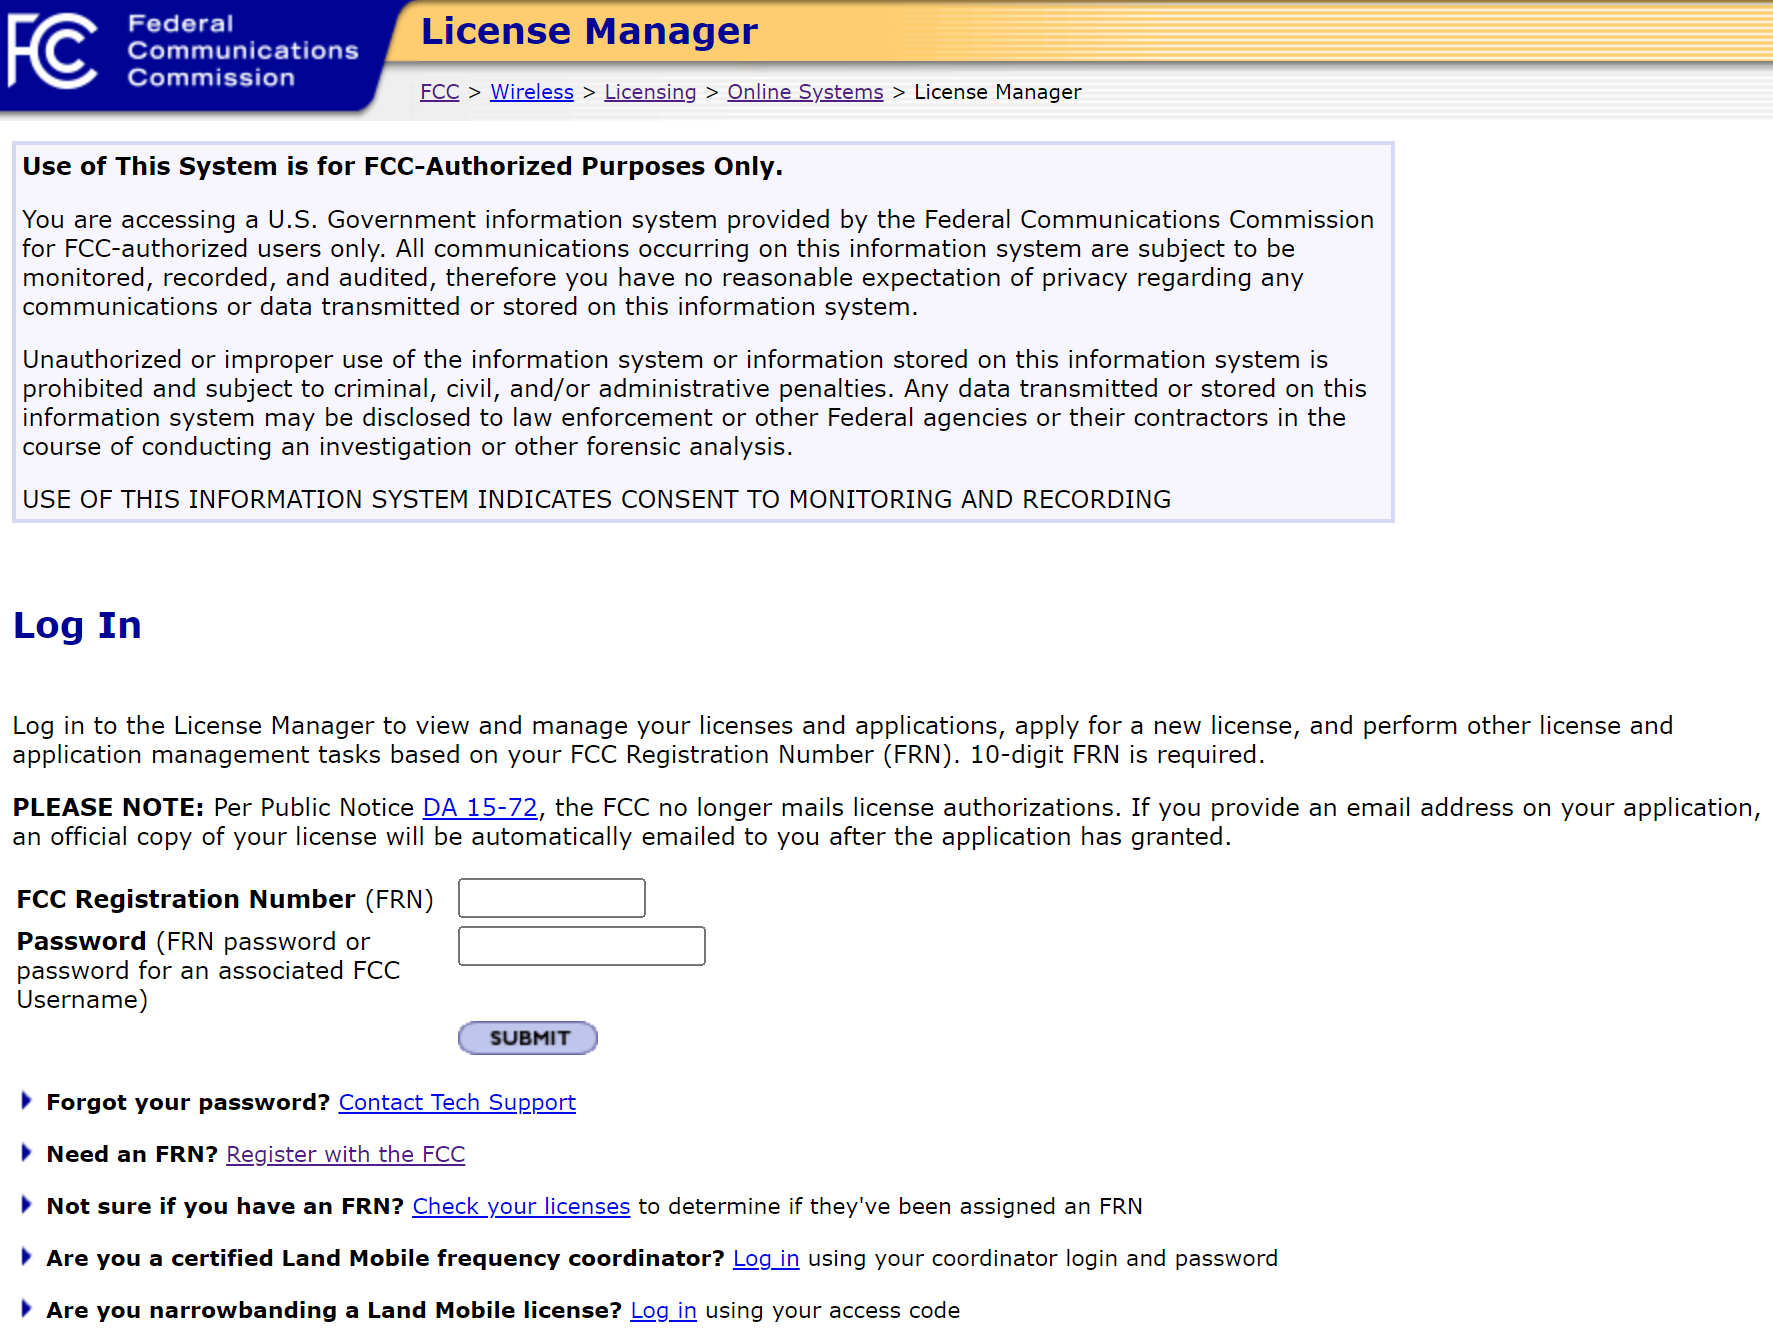
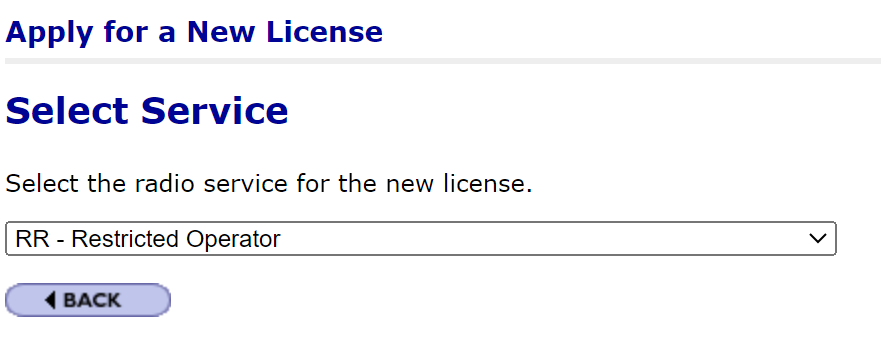
- Apply for the License:
- Use your FRN to log in to the Universal Licensing System (ULS).
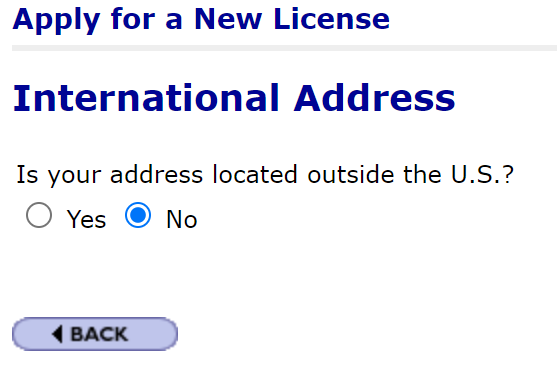
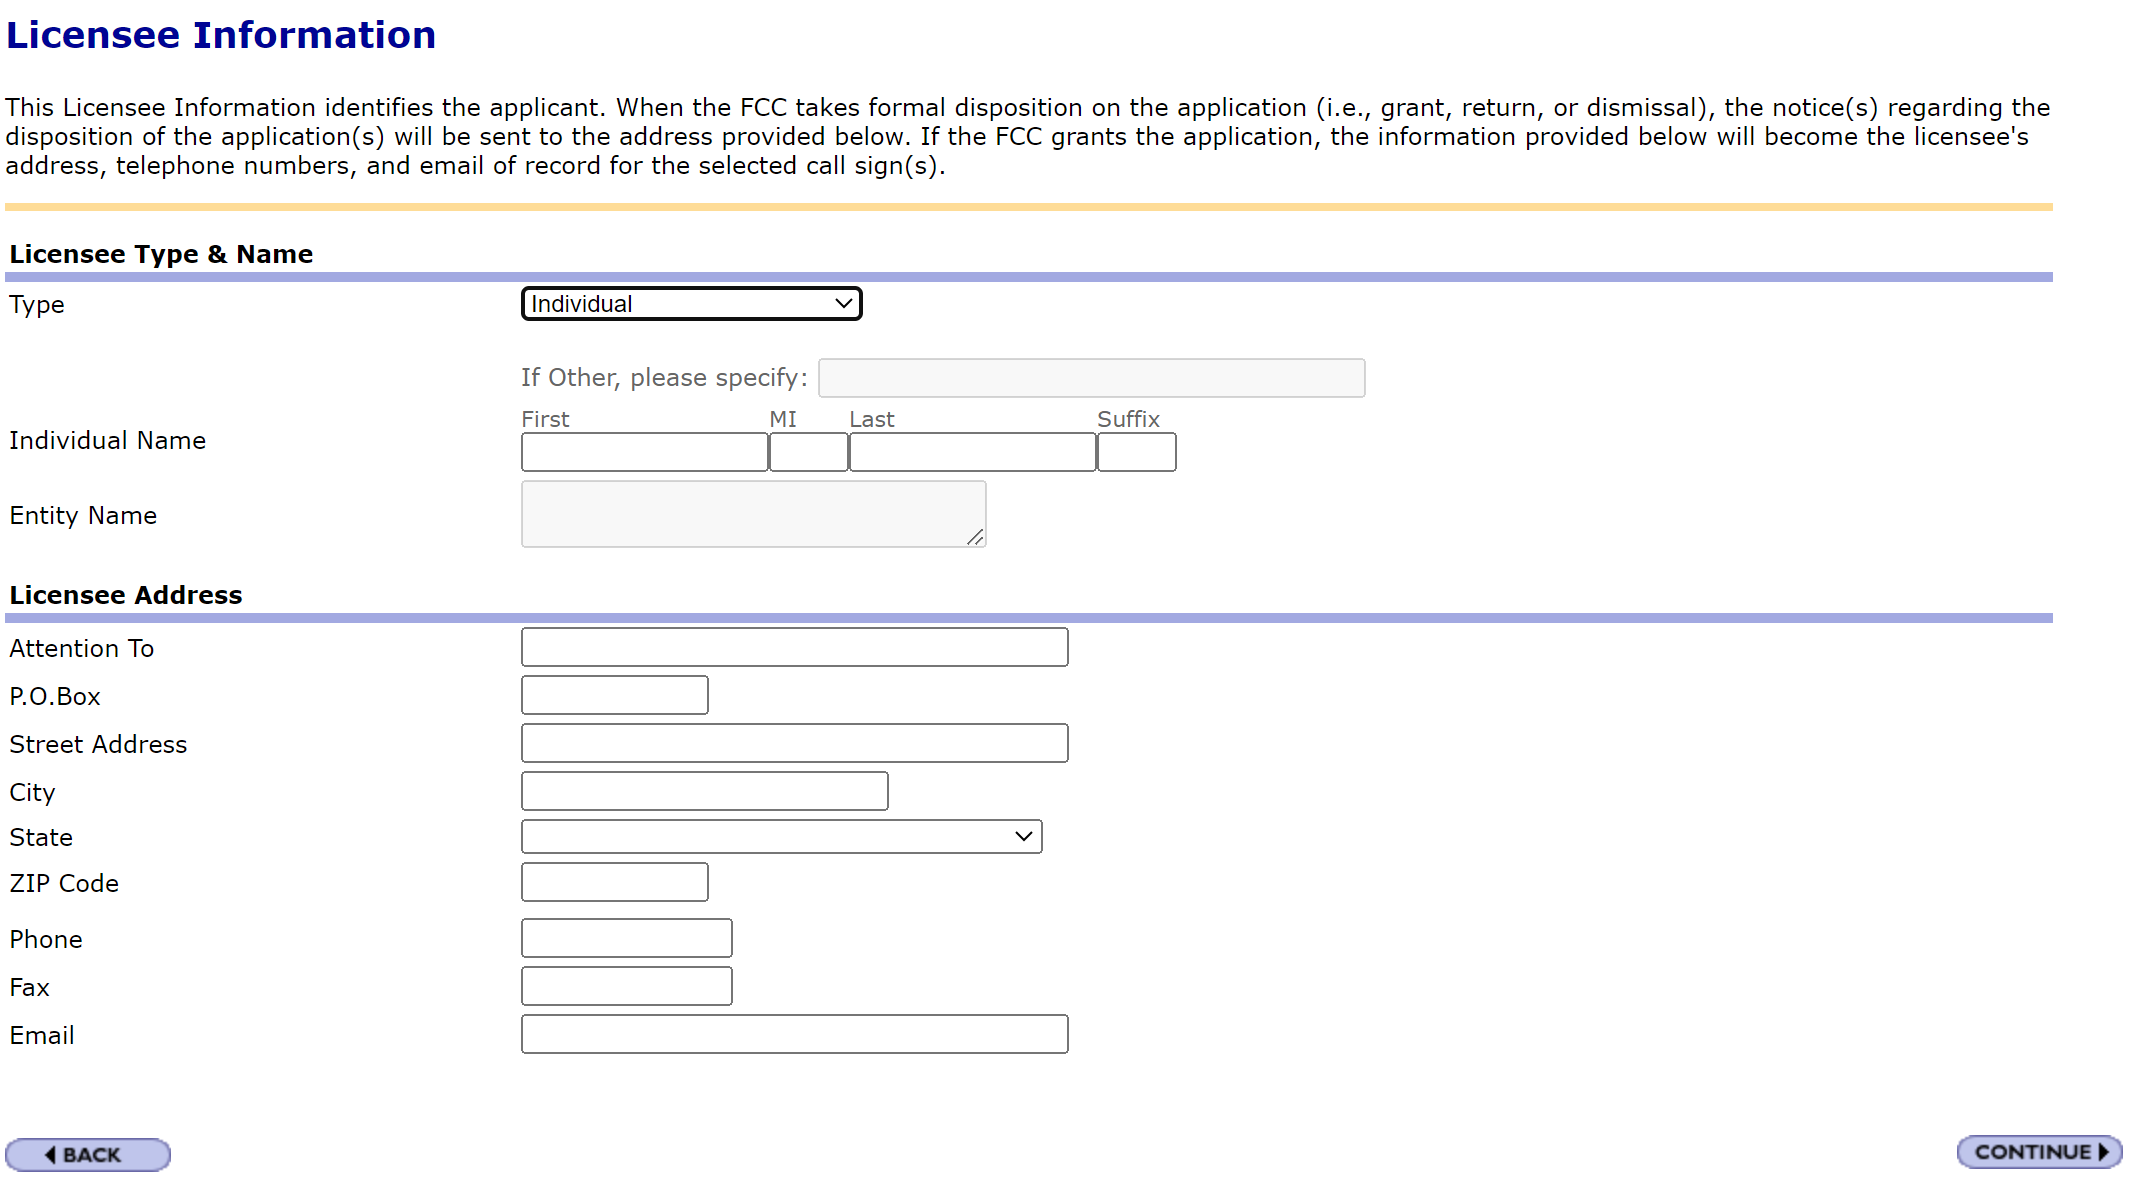
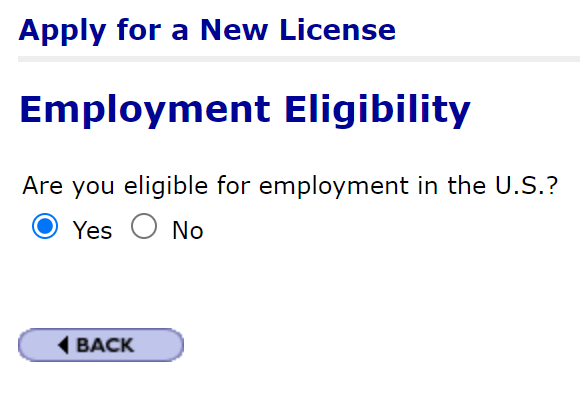
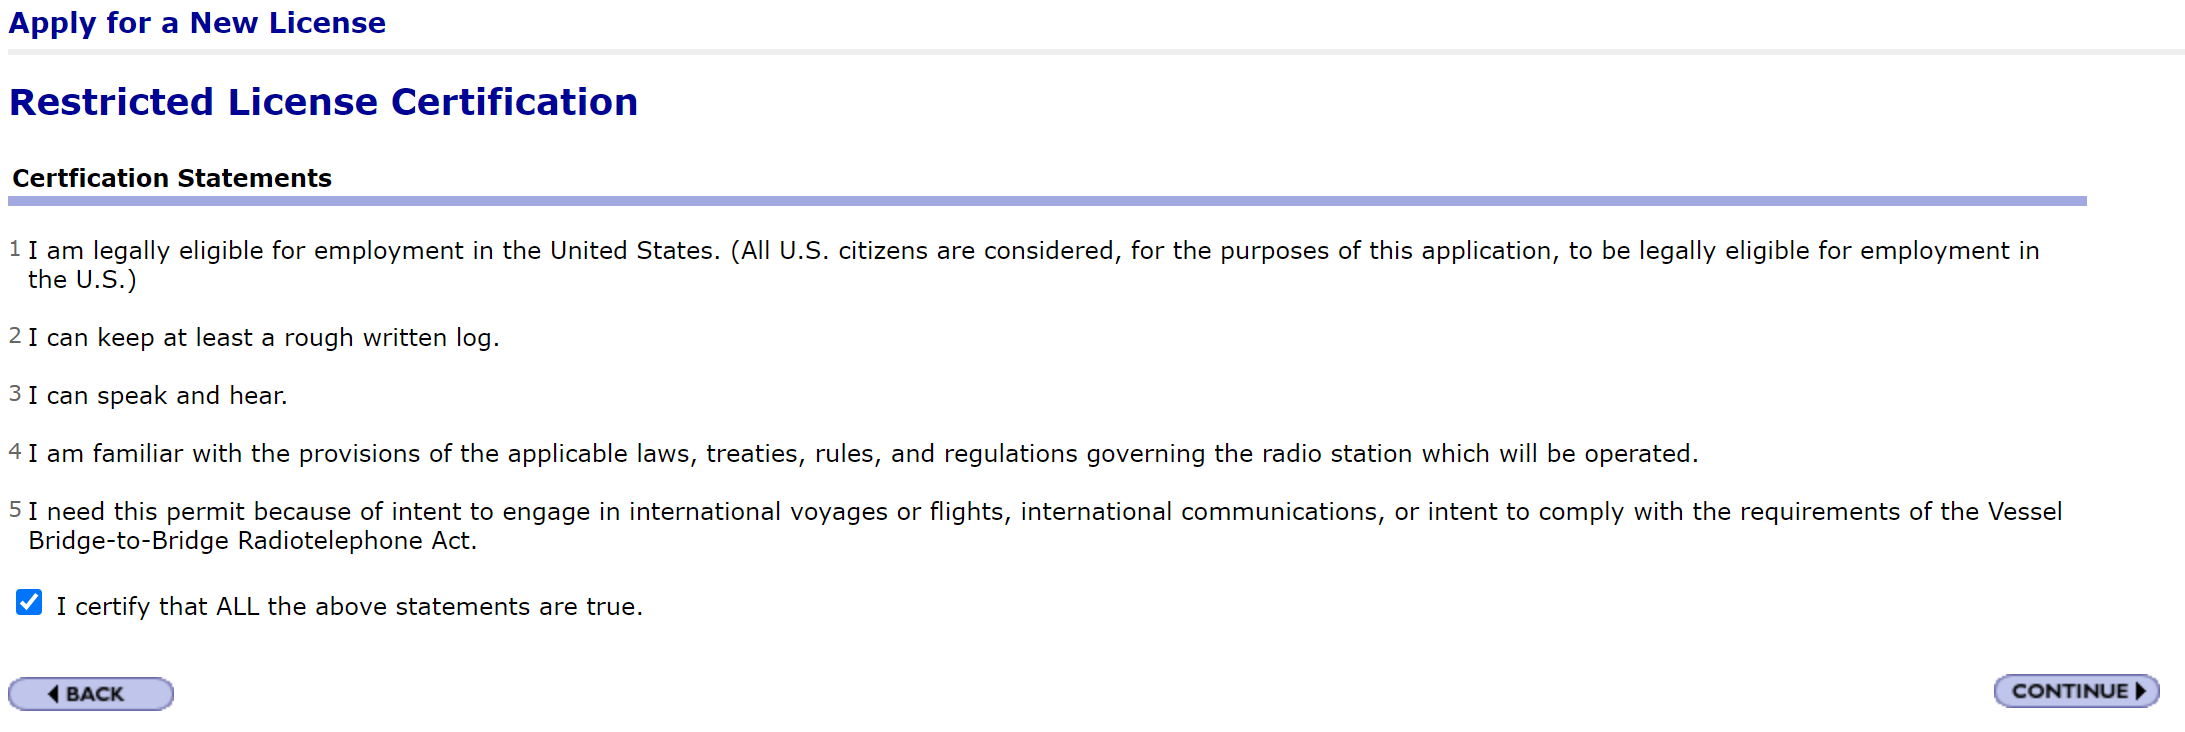
- Select Apply for a New License > RR – Restricted Operator.
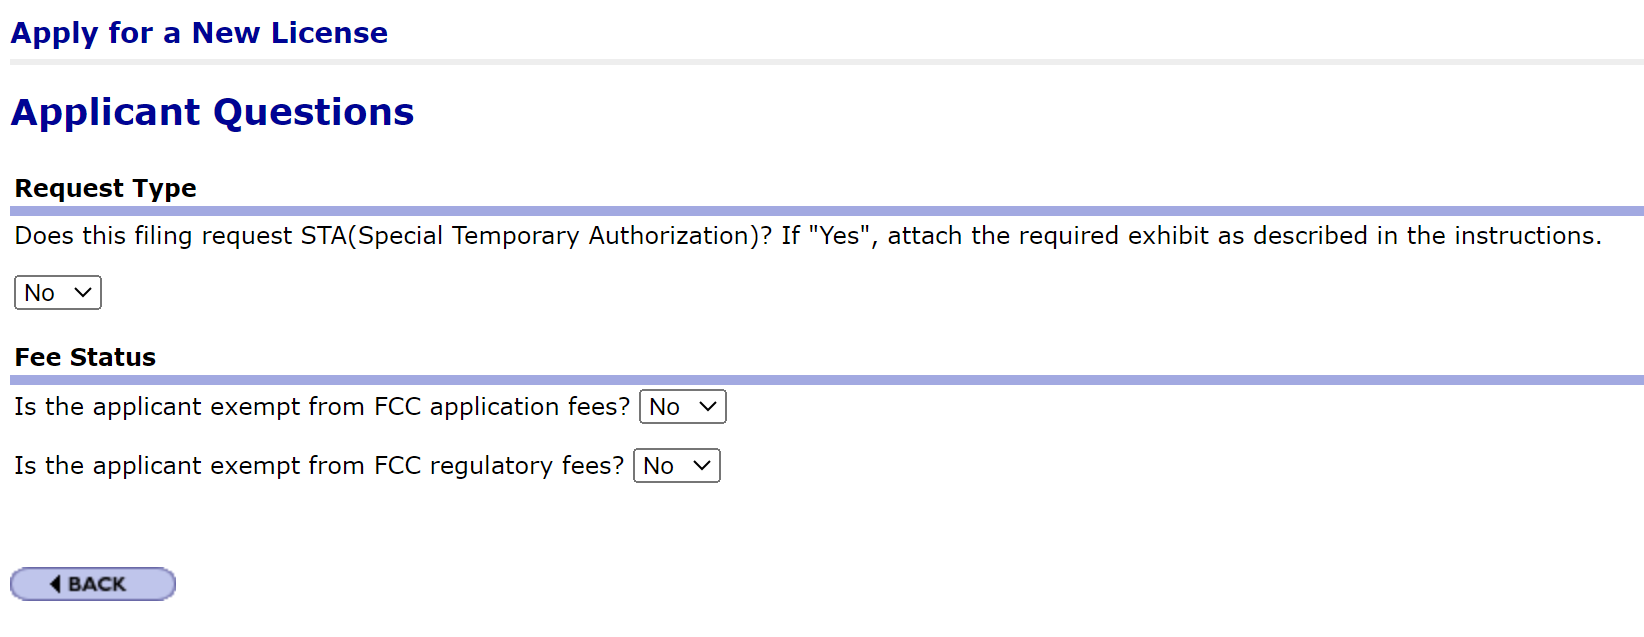
- Complete the application by entering your personal details, answering the questions, and certifying the information.
- Make the Payment:
- Log in to CORES, go to Bills and Fees > FRN Financial.
- Find your pending payment under Awaiting Payments, enter your payment details, and wait for the confirmation email.


My radio license was emailed to me within a couple of days.
FCC Airplane Radio Registration
- Log in to ULS:
- Use the same FRN from the previous step.
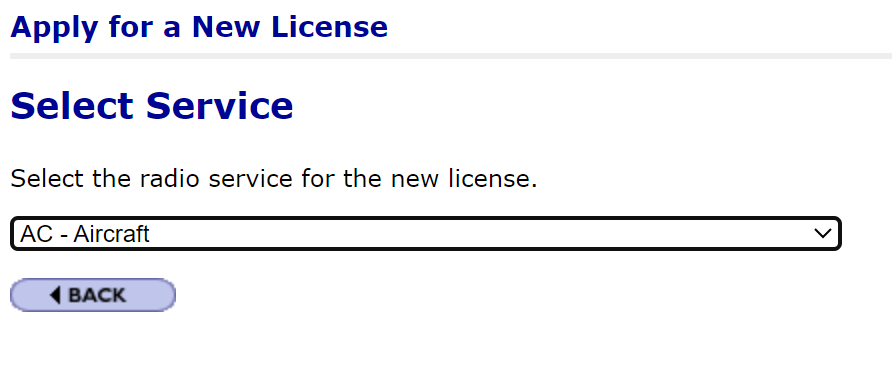
- Apply for New License:
- Select AC – Aircraft under Select Service.
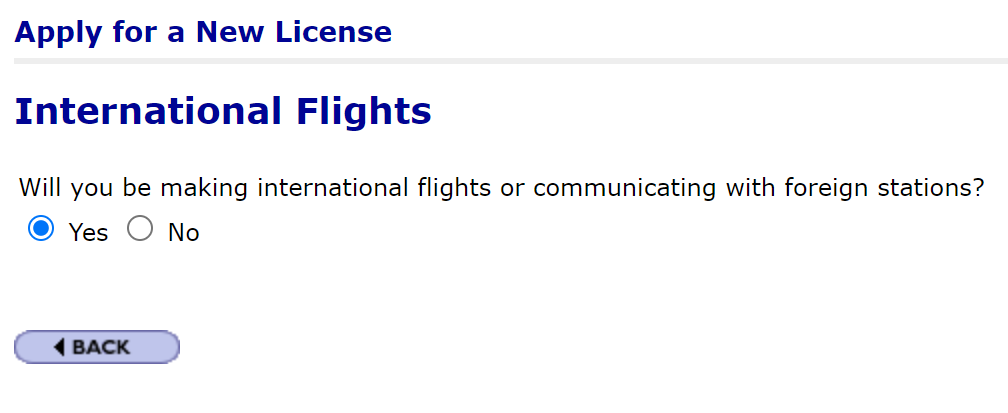
- Answer the questions, ensuring to mention communication with foreign stations (i.e., Canadian).
- Enter Aircraft Information:
- Provide details such as the tail number and classification (Private Aircraft).
- Certify and submit the application.
- Make the Payment:
- As with the radio operator license, go to CORES and make the $135 payment.
Ensure not to make any edits in ULS while waiting for the confirmation email, as it may delay the process.
Certificate of Insurance
A certificate/letter confirming that the plane is insured is also required when travelling across the border. This was a simple process for me, as the club had a PDF document from the insurance company where the insurance details were documented. I stored the PDF in Foreflight on my iPad and I was good to go.
Letter of ownership
The letter confirming that the owner of the airplane allows me to operate the aircraft is also required. I was able to get this letter from the president of the club. This took longer than expected as the club is run by volunteers and the manager and president had more pressing issues to deal with at the time. As I was planning ahead, I had time to wait for them to get around to it.
Customs Decal
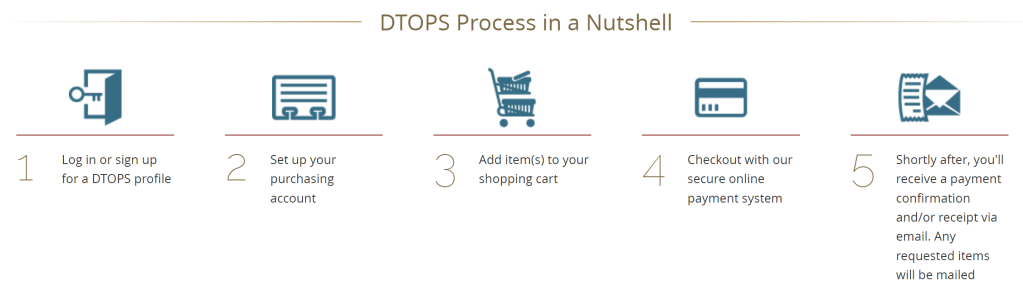
- Visit the Decal and Transponder Online Procurement System (DTOPS).
- Scroll to Private Aircraft and click Pay Annual User Fee.
- Sign up for a new profile, log in, and pay the fee.
- You will receive a temporary approval via email within 24 hours, and the physical decal will follow in the mail.
EAPIS Manifest
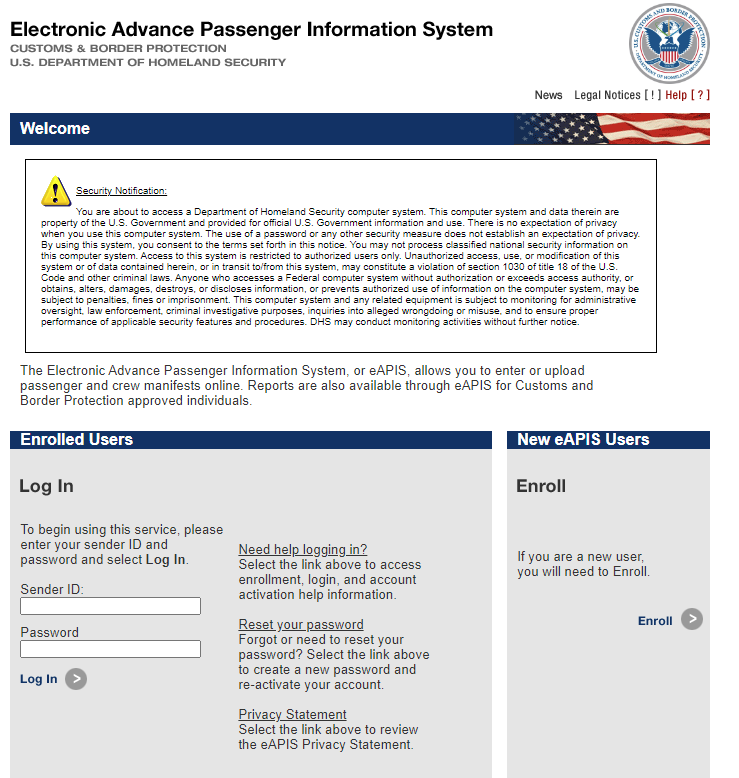
The US Customs and Border Protection (CBP) requires advance notice of your international travel plans through the Electronic Advance Passenger Information System (EAPIS).
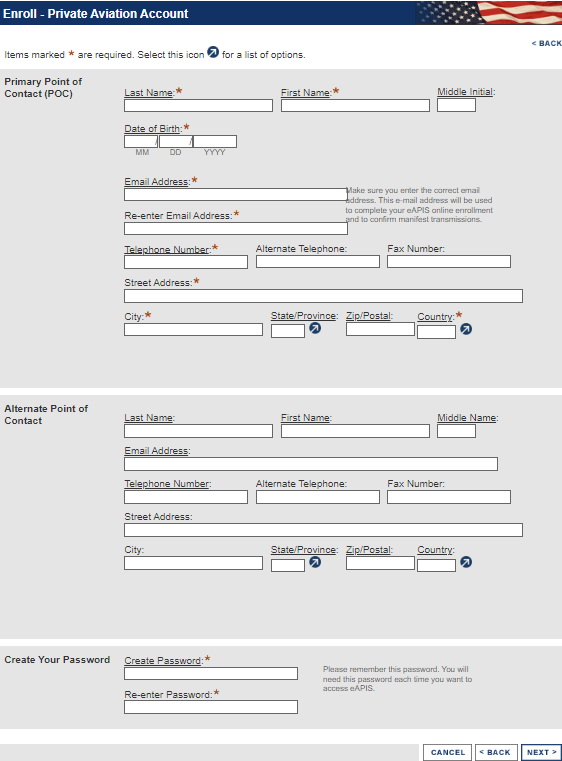
Creating an EAPIS Account
- Enroll on the EAPIS Website:
- Agree to the Terms of Condition.
- Select “Private Aviation” for the account purpose.
- Enter your personal details and create a password. You will receive a user ID via email.
Submitting a Notice of Departure
- Log in to EAPIS:
- Create Crew and Pilot Information, entering your details as the Pilot in Command.
- Create a New Notice of Departure:
- Aircraft Details: Enter information including the tail number, color, and decal number.
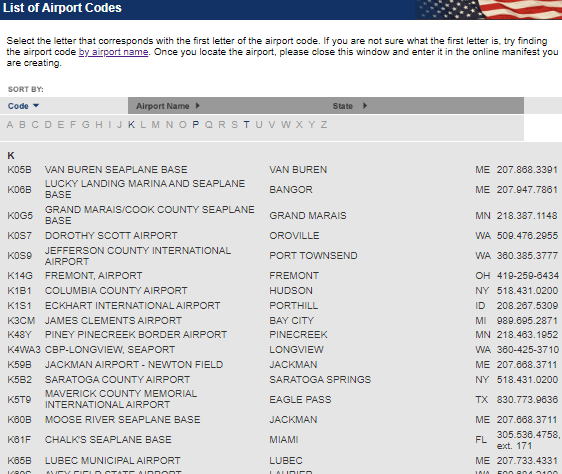
- Flight Plan Details: Include the last US airport you will depart from before entering foreign airspace and the Canadian airport you will arrive at. If the departure airport does not appear on the CBP list, enter the identifier under Actual Departure Location Description.
- Border Crossing: Provide the nearest marker and the estimated crossing time.
- Personal and Passenger Information:
- Enter emergency contact details.
- Specify the number of crew members (usually one if you are the only pilot) and passengers.
- Provide personal details, including passport information for all passengers.
Submitting a Notice of Arrival
- Create a Notice of Arrival:
- Use the departure manifest as a template.
- Include foreign departure details, US arrival information, and ensure the arrival airport has CBP availability at your planned arrival time.
- Call CBP:
- Contact the CBP office at your arrival airport after submitting the notice. Provide your EAPIS submission number to confirm the details.
Choosing the Arrival Airport
When selecting your arrival airport, it’s crucial to ensure CBP availability, as this will impact your flight planning. Here’s how:
- Check CBP Availability:
- Some airports do not have CBP officers available on weekends or holidays. Contact each airport on your route to confirm their CBP hours and availability.
- Adjust Flight Schedule:
- If CBP is not available at your desired arrival time, you may need to adjust your schedule to a weekday or during operational hours.
- Alternatively, you can choose an airport with 24/7 CBP services, like Detroit Metropolitan Airport (DTW), though this might incur additional landing fees and require refueling stops.
- Plan for Detours:
- Be prepared for possible detours to airports with CBP services, which may add to your flight time and costs. For example, landing at DTW added half an hour to my flight and required an extra fuel stop.


By carefully selecting your arrival airport and planning your flight schedule accordingly, you can avoid unnecessary delays and ensure a smooth re-entry process into the US.
Availability of CBP at Arrival Airport
To find the airport with CBP availability, I called all the airports listed on the CBP website to Locate a Port of Entry, which were on my route. I was told by all of them that they were closed on Sunday. Some of the airports offered a service where I could pay for an officer to be there on a Sunday. This would be extremely expensive.
My only options were either delay my arrival to a weekday, or go through Detroit Metropolitan Airport (DTW). As we had to be back for work on Monday, we decided to take the detour to DTW. The additional detour would add half hour of flight, costs of landing and other fees at DTW, expensive refueling and also require another stop on the way as the fuel would not be enough to last from DTW to Crystal (MIC).
CANPASS
To notify Canadian Immigration of your arrival, contact CANPASS:
- Call 1-888-CANPASS between 2 and 48 hours before your arrival.
- Provide details including your tail number, arrival airport, pilot, and passenger information.
After landing, call CANPASS again. An officer will meet you at the plane for clearance.
Conclusion
Flying across the US-Canada border can be a thrilling and enriching experience, but it requires careful preparation and adherence to various regulations. From updating your GPS databases and securing the necessary FCC licenses to obtaining insurance documentation and completing customs procedures, each step is crucial to ensure a smooth journey.
The key takeaways from my experience include:
- Preparation is Essential: Start planning well in advance. The process of obtaining licenses and necessary documentation can be time-consuming.
- Stay Organized: Keep all your documentation, including licenses, insurance certificates, and letters of ownership, in an easily accessible digital format, such as on ForeFlight.
- Communicate with Authorities: Ensure you follow all procedures for notifying CBP and Canadian customs. Timely communication can prevent delays and complications.
- Plan Your Route Wisely: Consider the availability of CBP services when selecting your arrival airport. Be flexible with your flight plans to accommodate potential detours or schedule changes.
By following this guide, you can navigate the complexities of cross-border flying with greater ease and confidence. Remember, thorough preparation and attention to detail are your best allies in ensuring a successful and enjoyable trip.
What challenges have you faced when planning a cross-border flight? Share your experiences in the comments below!


Leave a reply to Anonymous Cancel reply